Printing File Preparation Checklist
File preparation checklist
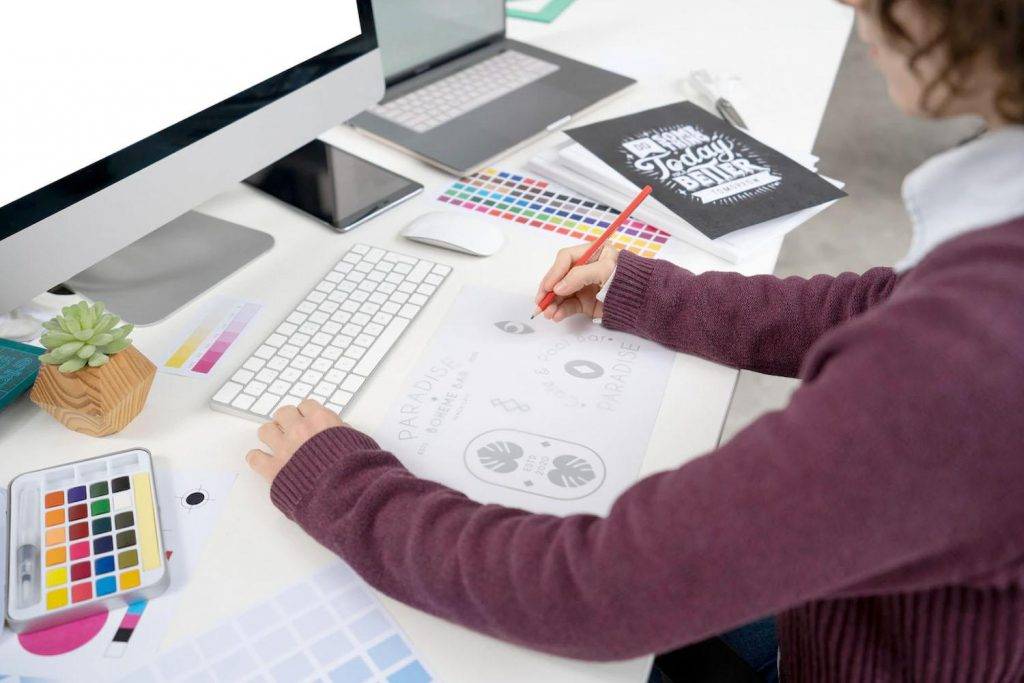
To prepare and send finished work to print may be a daunting component of one’s employment. When there are so many specifics, check lists, and moving elements involved in creating a print-ready project, anything may happen. Even if you already have excellent design skills or some DIY expertise, you can’t predict how it will end out, and once it’s in your hands there is no going back.
Fear not—we’ve put together a simple instruction on how to get your product ready for printing. By doing so, you can gain confidence in your ability to produce work that looks great both on a screen and in print. Let’s look more closely at the following things to think about as you go through the procedure.
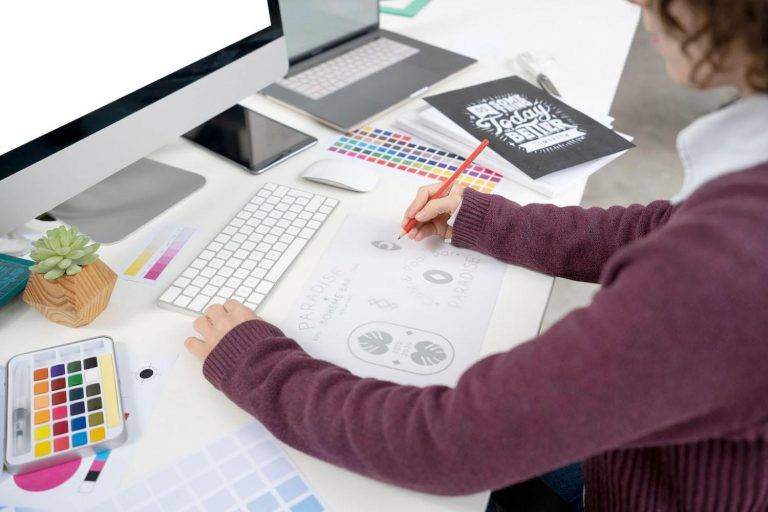
Consider the layout, spacing, and size
Once you know the components to search for, it becomes simpler to prepare files for printing into masterpieces. Each component serves as a building block, much like an ingredient does in a complex recipe. To create the perfect final result, you must be aware of the precise quantities required of each ingredient.
Are you wondering how to get your product ready for printing? The trick is to approach the design as a composition or a blank canvas. The layout must take into account the distance between words and visuals. Don’t forget about font and image sizing for good content. No matter if it’s a report or a brochure, the coherence you achieve from these parts will offer a seamless experience for the reader or viewer.
Set up a print-ready file after proofreading
The objective of an efficient workflow is for a print-ready file to enable a commercial printer to print your product swiftly and economically.
Prior to submitting it to the printer after designing, you should take your time to proofread. The target audience is significantly affected by minor errors like typos or wrong file sizes. Everything depends on that first impression.
Selecting a printing service and paper type
Last but not least, you need to make a decision on the final touches. What kind of an impact do you want to have? It is really different from holding the project in your hands to see it on screen. Paper is a component that improves experience and design rather than serving as only a surface for the ink to dry on.
Not every project is appropriate for every type of paper. You must select the right type of paper or artistic approach for the point you want to make. Please feel free to contact us with your rough ideas for advice.
File preparation checklist for printing in 9 steps:
-
Step 1 - Resolution
Ensure that every one of your photographs is at least 300 dpi (dots-per-inch). The suggested resolution for printing is 300 dpi. Your photographs may print distorted and blurry if they have a low resolution. For instance, your jpeg is sized to print 3" x 4" if it is 900 pixels wide by 1200 pixels wide (Take the number of pixels and divide by 300 to get your output size).
-
Step 2 - File Size & Dimensions
Ensure that your file is the proper size for output. Make sure your file is sized appropriately if you plan to print an what ever sizes etc. 8" x 12.
-
Step 3 - CMYK Color
For the best color output, make sure you are utilizing CMYK color space wherever possible. Most of the time, our machinery can perform this conversion for you, but for the best results, supply your files in CMYK.
-
Step 4 - Corp Marks
Crop marks are not necessary for all files. If you are delivering your file already imposed, crop marks are usually necessary. Crop marks should be 1/8" away from the final image if you are sending it this manner.
-
Step 5 - Bleed & Safe Zones
Include 1/8 of the image or color bleed if applicable "All sides are bleeding. A full bleed business card, for instance, would measure 2.25" by 3.75". If the print must go all the way to the edge of the project or page, you require bleed (e.g. no white border). On any cutting-related activity, be mindful of the "Safe Zone" and make sure that any text or other items you don't want to be cut are at least 1/8" thick "outside of the trim line.
-
Step 6 - Spelling Check
Before converting your file, make sure to conduct a spell check. Having a second (or third) set of eyes proofread your work is always a good idea.
-
Step 7 - Fonts
Sending a PDF file with outlined or flattened fonts is preferable. It is crucial to send us any font files we might want if you are delivering a Word document, publisher file, illustrator file, Photoshop file, or inDesign file.
-
Step 8 - Image Content
Make sure you are not using any copyrighted photos, which are those that you cannot publish or otherwise use because they belong to someone else. This might range from pictures you "discovered on Google," popular licensed figures like Spongebob or Winnie the Pooh, to pictures taken by experts like Beltrami Studios. Most likely, you don't have authorization to print the file if it has a "watermark" on it. You can buy pictures from stock photo websites to be safe. Make sure you have written permission to print the image if you're using a professional photographer's image. If you use illicit photos in your project, we won't print it!
-
Step 9 - File Type
Send your file as a print-ready PDF for the best results (Portable Document File). Regardless of the typefaces or software that may be installed on the computer, Adobe PDFs are a universal file format that can be viewed on almost every machine. For documents that will be printed, PDF is the best format because it will produce the best results. You can typically convert your file by looking for something that says "Save As" or "Export As" and setting the outputted file type to pdf, depending on the software you used to produce your file. A "Convert to Adobe PDF" button may be included into some apps. A free PDF conversion program like PDF2go.com is another option.
Contact Namecards inc. for business printing services in Singapore. In order to meet the demands of our clients, our print shop provides a wide range of printing methods, tools, and services. To guarantee a flawlessly finished work, request a price right now. We provide high-quality printing services that can help your business save time and money.
Why print with us?
Namecards Inc. is one of the few name card printing specialist in Singapore.
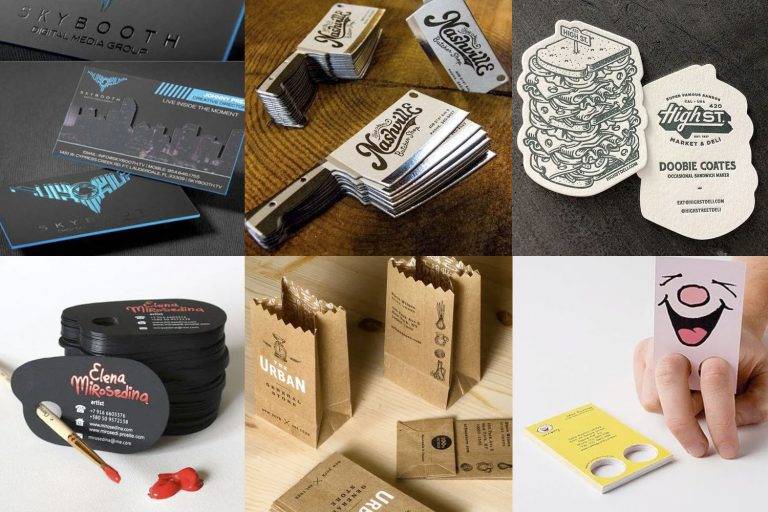
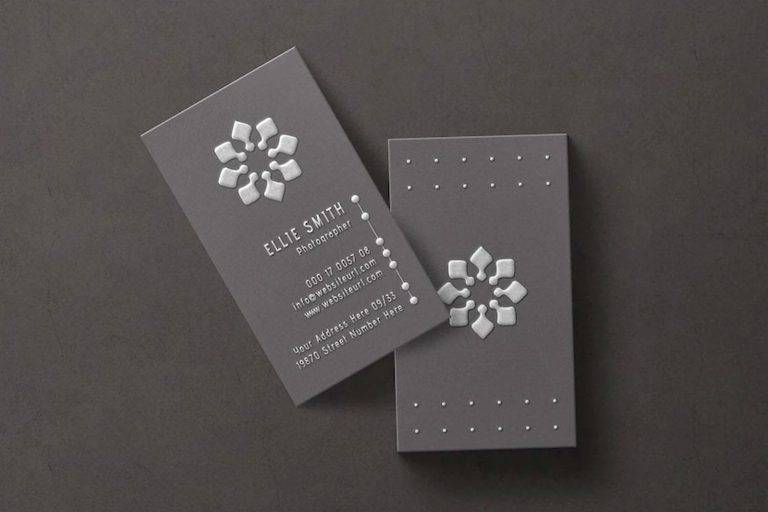
You may choose from a diverse range of name cards templates that includes Standard, Textured, Kraft, Emboss, Spot Vanish, and Die Cut, and more.
Our experienced designers and efficient customer service representatives work with clients closely to arrive at the best name cards perfecting colours, sizes, shapes, finishes, and design combinations.
May also interest you
Printing File Preparation Checklist
File preparation checklist for for printing into masterpieces becomes easier...
Read More